


Common Misconceptions About Diamond Ratios
Shoppers searching for a fancy-shaped diamonds, like marquises and pears, encounter the length-to-width ratio early in the process. This measurement appears in buying guides, comparison applications, and forum threads, sometimes presented as if there is a specific target to achieve.
Framing the ratio as a definitive measurement oversimplifies a subject that benefits from greater nuance. While ratios offer useful information, online forums often perpetuate persistent myths that can confuse and deter shoppers.
Recognizing what ratios indicate, and what they do not, helps distinguish practical advice from common misconceptions.

Understanding what the ratio actually tells you, and what it doesn't, helps separate practical guidance from the myths that tend to complicate the shopping process.
There Is No Single “Perfect” Ratio
This is probably the most widespread misconception. Guides love to present tight ratio windows as if stepping outside them means your diamond is flawed. In reality, those ranges are intentionally loose.
|
Diamond Shape |
Typical Ratio Range |
Visual Appearance |
|
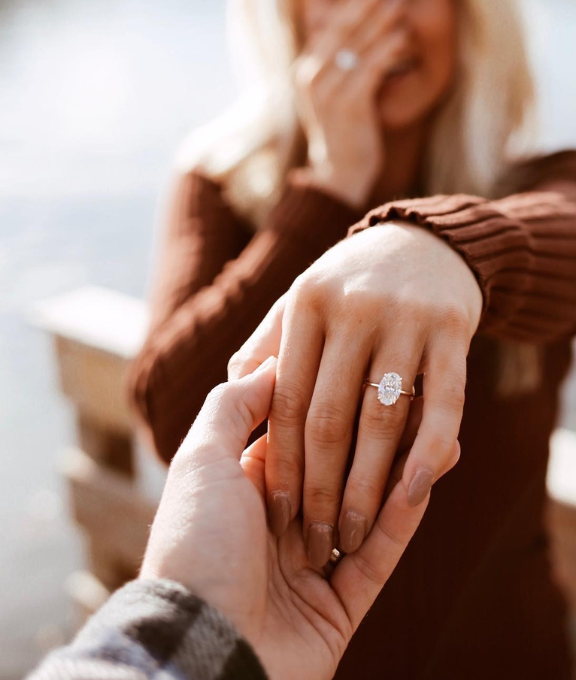
Oval |
1.30-1.50 |
Ratios closer to 1.30 appear rounder, while those near 1.50 create a longer, more elongated look. |
|
Pear |
1.40-1.70 |
Lower ratios produce a shorter, rounder stone; higher ratios create a sleeker, more elongated shape. |
|
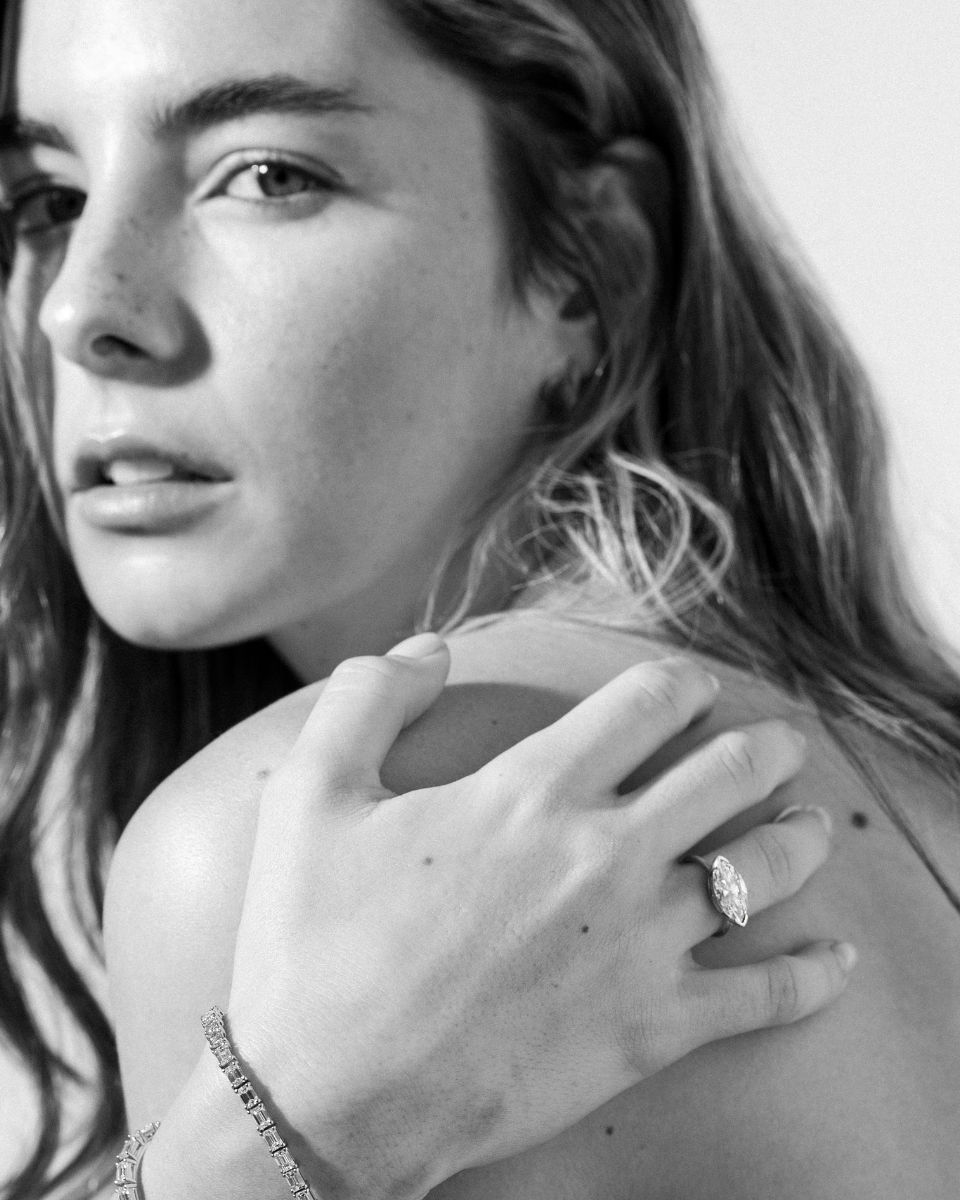
Marquise |
1.85-2.10 |
Naturally elongated shape with pointed ends that create a long, narrow appearance. |
|
Emerald |
1.30-1.45 |
Produces a balanced rectangular shape with clean, linear facets. |
|
Radiant |
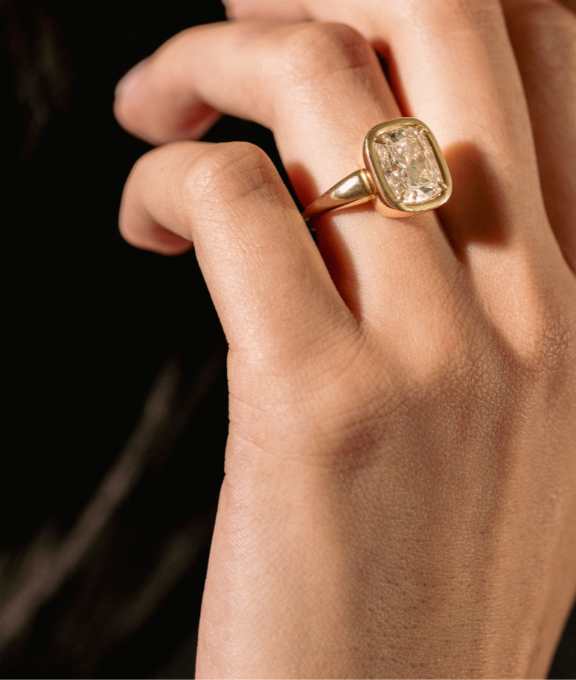
1.00-1.40+ |
A 1.00 ratio produces a square shape; higher ratios create a more rectangular appearance. |
Personal preference ultimately determines which ratio feels most appealing. A ratio of 1.35 on an oval offers a different look than 1.45, and the decision depends on what qualities the shopper values in the stone.
Ratio Alone Cannot Tell You If a Diamond Is Beautiful
The ratio describes only the diamond’s outline when viewed from above. It does not reveal how the stone interacts with light, how much fire it displays, or how it appears when worn.
GIA spent 15 years developing its cut grading system. They used computer modeling to analyze tens of thousands of proportion combinations and backed it up with more than 70,000 human observations of real diamonds. The system examines seven components:
-
Brightness
-
Fire
-
Scintillation
-
Weight ratio
-
Durability
-
Polish
-
Symmetry
No single measurement on its own provides a complete assessment of a diamond.
Right now, the round brilliant is the only shape that receives an official cut grade on GIA reports because its facet pattern is standardized. Fancy shapes like ovals, pears, and cushions do not receive a GIA grade because their facet patterns and light effect vary too widely.

The ratio describes only the stone's outline from above, it says nothing about how the diamond handles light, displays fire, or looks in motion.
Depth and Table Percentages Matter, Too
Two diamonds can share the same ratio yet look very different because of how their depth plus table are proportioned. For a given carat weight, a shallower stone will show more surface area from the top because weight is spread horizontally. A deeper stone will carry more of its mass below the girdle, where you can’t see it face-up.
For oval diamonds, a depth percentage between 58% and 62% paired with a table percentage between 53% and 63% tends to produce good light performance. For elongated cushion cuts, the same 58% to 62% depth range applies.
|
Diamond Shape |
Recommended Depth % |
Recommended Table % |
Notes |
|
Oval |
58-62% |
53-63% |
These ranges tend to produce balanced light performance. |
|
Elongated Cushion |
N/A |
Depth range is similar to oval diamonds; table percentage can vary more depending on facet style. |
A diamond that falls within a “preferred” ratio but has an excessively deep pavilion can hide its carat weight, doing you no visual favors. So the ratio is really only useful when read alongside these other measurements.
Carat Weight and Visual Size Are Not the Same Thing
Two diamonds that weigh the same on a scale can look noticeably different in size once set. This trips up many buyers. Deep shapes like cushion and princess cuts often have a heavier body, making them appear smaller from the top.
Ovals and marquise shapes tend to spread their weight across the surface, making them appear larger than their carat weight suggests. An oval can appear 10% to 15% larger than a round diamond of the same carat weight.
There is a concrete example worth noting. Two oval diamonds of essentially the same carat weight can differ by 0.7mm in length when one has a higher depth. That is a visible difference once the stone is on a finger.

Ovals and marquise cuts spread their weight across the surface, often appearing 10% to 15% larger than a round diamond of the same weight.
A Higher Ratio Does Not Always Mean a Better-Looking Stone
Extreme elongation can lead to the bow-tie effect, a dark band that can appear across the center of ovals, pears, and marquise diamonds. Most ovals display some degree of bow-tie, and longer stones tend to make it more visible. Well-proportioned stones minimize this effect and evenly distribute light.
GIA’s research found that customer preference peaks at a 1.7 ratio for ovals when considering outlines alone. Still, the actual peak of submitted ovals for grading is closer to 1.4. Ovals above 1.7 are rarely seen, partly because at that level of elongation, it becomes harder to cut a stone that sparkles well.

GIA research found that customer preference for oval outlines peaks around 1.7.
Treat Published Ranges as Starting Points
Published ratio ranges are guidelines to help you begin your search. They help you filter options and understand what falls within a particular shape’s intended form. But they are not pass-fail criteria.
GIA’s own system acknowledges that a wide range of proportion combinations can produce appealing results, and personal preference plays a role within each grade.

Ratio ranges are filters to help you begin your search, not criteria that determine whether a diamond is acceptable.
Using Ratio as a Guide, Not a Rule
The length-to-width ratio is a helpful starting point for narrowing down your choices. But it works best when considered alongside depth percentage, table size, symmetry, and the stone's overall faceting.
Viewing actual images or examining diamonds in person provides more information than a single measurement on a specification sheet. The ratio can help narrow down options, but visual assessment is still essential.


Deja un comentario (todos los campos son obligatorios)